
Bridge Engineering for 2nd Grade: Build a Train Trestle
An engineering design challenge over two 45-minute sessions. Children look again at two book pages where the railroad meets cliffs and water, define a bridge problem, try the materials, sketch and build two paper trestle designs, then test both fairly with pennies, improve the weaker one and compare results with data.
- Grade
- 2nd Grade
- Subjects
- Science (engineering design), STEM
- Time
- Two sessions: 45 and 45 minutes
- Structure
- Engineering design challenge over two sessions
- Prep
- 25 minutes: for each pair, stack two piles of books the same height about 6 inches apart with a strip of blue paper (the lake) between them; bag 4 index cards (5 by 8 inches), 6 craft sticks, a 12-inch strip of masking tape, a small paper cup and 100 pennies (two rolls) or metal washers; set out a spare-parts tray with 10 extra cards and a roll of tape for the Improve step; copy the three printables (one per pair); set out a tray per pair so bridges survive overnight
- Grouping
- Whole class on the carpet to define the problem and agree on the fair test; partners at tables to explore, sketch, build, test and improve; whole class to compare results
- Book
- Pages 11, 13
- NGSS K-2-ETS1-1
- NGSS K-2-ETS1-2
- NGSS K-2-ETS1-3
 Need the book? Get the paperback on Amazon (opens in a new tab) or earn a free classroom copy.
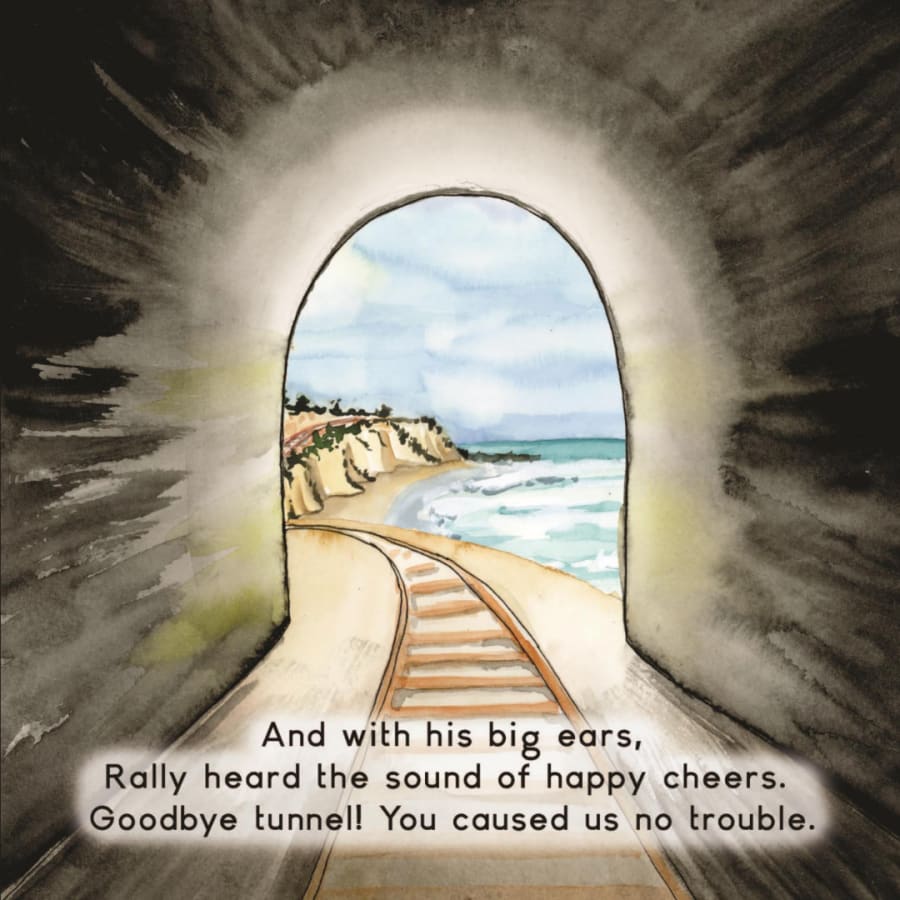
Days 10-11 of the 2nd Grade train unit
Builds on: Day 9 (2D), where children practiced starting at 0 on a ruler. Here a child uses a ruler to measure the 6-inch gap the bridge must cross.
Leads to: The end of the unit. Pairs can present their best bridge and their data to another class, along with the route maps from Days 1-2.
Learning objective
Students ask questions and gather information to define a bridge problem, sketch two designs and explain how each shape helps the bridge hold weight, build and test both designs fairly with pennies, and use their data to compare the strengths and weaknesses of each.
I can define a problem, sketch and build two bridges, test them fairly and use data to tell which works better and why.
Vocabulary to teach
Materials
- Rally Takes the Train by Kelsey Lizee Cecil: get the paperback on Amazon (opens in a new tab) or earn a free classroom copy
- Per pair: two equal stacks of books about 6 inches apart, a strip of blue paper for the lake, 4 index cards (5 by 8 inches), 6 craft sticks, 12 inches of masking tape, a small paper cup (the train car) and 100 pennies (two rolls) or metal washers
- Spare-parts tray for Improve: about 10 index cards and a roll of masking tape
- Inch rulers for measuring the gap
- Define and Sketch printable, one per pair
- Test Data printable, one per pair
- Compare Designs printable, one per pair
- Chart paper for the class results
- Optional: the Utah State Railroad Museum at Ogden Union Station guide at https://www.rallytakesthetrain.com/museums/utah-state-railroad-museum-at-ogden-union-station, to show a real trestle
Before you teach
- Build one flat-card bridge yourself and test it, so you know it sags after a handful of pennies. That failed demo opens Session 1; do not build a winning design in front of the class.
- Decide the stopping rule now (the bridge touches the blue paper, or the cup tips) and write it on chart paper. Arguments about data almost always come from an unclear stopping rule.
- Have trays or labeled shelf space ready. Session 1 ends with built bridges that must survive until Session 2.
- Count pennies into the bags by tens (100 per pair) so pairs can check the count at cleanup. A folded card can hold more than 40 pennies, so a smaller bag leaves pairs with two bridges that both 'held them all' and nothing to compare.
- Decide your post rule. Real trestles stand on posts in the water, but if posts can stand on the lake, every bridge holds everything. Tell children this lake is too deep for posts, so the bridge must reach from bank to bank like one span of a trestle.
Lesson plan
Engineering design challenge over two sessions. K-2-ETS1 asks children to define a problem, show how a shape helps an object work, and compare two designs with data. That takes time to build, test and change a design, so the cycle (Ask, Imagine, Plan, Create, Test, Improve) runs across two sessions with the bridges kept overnight.
Using the book: In the opening Ask phase, look again at pages 11 and 13 (about 2 minutes) to name the problems a railroad meets: a cliff in the way and tracks running along cliffs above the water.
Session 1 45 minutes
- Hold up page 11 of the book, where a cliff is in the train's way, then page 13, where the tracks curve along cliffs above the water. Ask what people built so the train could keep going (a tunnel, tracks along the cliff).
- Sketch a trestle on the board: a flat track on top, held up by rows of posts and beams underneath. Explain that our lake is too deep for posts, so the class bridge has to reach from bank to bank, like the beams between two trestle posts. Teach engineer, trestle, design, fair test and data.
- Show one setup: two book stacks with a blue paper lake between. A child measures the gap with a ruler, starting at 0: 6 inches.
- Children ask questions about the problem (How wide? What can we use? How much must it hold?). Write the class problem: build a bridge across a 6-inch gap that holds as many pennies as possible in a cup set in the middle, without touching the water. Constraints: only the materials in the bag, nothing standing in the lake, and two different designs.
- Lay one flat index card across the gap, set the cup in the middle and add pennies one at a time while children count. Stop when it touches the water. Ask what they noticed about the middle.
- Hand out the bags. For 4 minutes, partners fold, roll, bend and stack cards without tape and press down on them to feel which shapes are stiff. No pennies yet.
Look for: Partners who press on a folded card and notice it bends less. Ask them to hold that thought for the sketch.
- Partners sketch two different designs on the Define and Sketch page and write how the shape of each helps it hold weight (the folds make the card stiff, craft sticks taped underneath work like beams).
- Approve each pair's sketches before they build. If the two designs are the same idea, ask what one thing they could change in Design B.
- Partners build Design A and Design B from their sketches. Remind them that tape counts: there are only 12 inches.
- Each pair writes their names and A or B on a strip of tape on each bridge and sets both on their tray.
- Pairs count their pennies back into the bag by tens and put trays on the shelf.
Session 2 45 minutes
- Read the fair test rules from the chart: same 6-inch gap, the cup in the middle, add one penny at a time, stop when the bridge touches the blue paper or the cup tips.
- Ask why both designs must be tested the same way. Take two answers, then send pairs to their trays.
- Before each test, partners write a prediction on the Test Data page: how many pennies will this design hold?
- One partner adds pennies one at a time while the other counts and watches the water. Test each design once and record the number; a paper bridge that has sagged into the water stays bent, so a second trial on it is not fair. If a bridge holds all 100, write 100+.
- Write where each bridge bent or slipped first.
Look for: The cup drifting toward one end, which makes a test unfair. Ask the pair whether that trial counts.
- Each pair picks its weaker design and decides on one change (another fold, a craft stick beam underneath, two cards stacked). They write it in the Improve row.
- Rebuild with new cards and tape from the spare-parts tray, test once more the same way and record the result.
- Partners complete the Compare Designs page: most pennies held, one strength and one weakness of each design, and a claim that uses numbers. Success criterion: our claim uses numbers from our tests.
- Each pair posts its best result and draws its shape in one box on the class results chart. Ask which shapes held the most and why folds or posts helped.
- Close with the rail safety rule: real railroad bridges and trestles are only for trains. Never walk or play on tracks or bridges, cross only at marked crossings, and always stop, look and listen.
Short on time? With only one session, cut the material exploration to 2 minutes, have pairs build simpler versions of both designs, and test both in the last 15 minutes; run Improve and the class results chart as a 20-minute follow-up. Do not drop to one design, because comparing two is the standard.
Finished early? Partners widen the gap to 8 inches and predict which of their designs will still work, then test it.
Optional museum extension: Optional, during Ask: the Utah State Railroad Museum guide says a real section of the Lucin Cutoff trestle, which carried trains across the Great Salt Lake from 1904 until the late 1950s, greets visitors at the entrance, so you can show children what a trestle looks like. Open the Utah State Railroad Museum at Ogden Union Station guide.
What to listen for
| If children say or do this | Try this |
|---|---|
| "More tape makes it stronger." | Point to the test data. Ask a pair that used little tape but folded the card how many pennies their bridge held. Shape often matters more than tape. |
| Pair slides the cup toward one bank, where the bridge sags less. | Ask whether that test is fair to the other design. Put the cup back in the middle and test again. |
| "Our bridge fell, so we lost." | A failed test is data. Ask what the bridge did just before it failed and what one change might fix it. That is the Improve step. |
Safety: Pennies are small; keep them away from children who put objects in their mouths and collect them by count at the end. Teach the rail safety rule: never walk or play on real railroad tracks or bridges, cross only at marked crossings, and always stop, look and listen.
Differentiation
Extra support
Offer two starter shapes on picture cards (a card folded into a zigzag, and a flat card with two craft sticks taped underneath as beams) and let partners choose and change one. Count pennies in groups of 5 on a ten frame to keep the data accurate.
Multilingual learners
Label the materials and the parts of a trestle (track, post, beam) on a picture chart. Give frames for the claim: Design ___ held ___ pennies. It was stronger because ___. Key language use: Explain.
Extension
Partners test which design holds the most pennies per inch of tape used, or design a third bridge that combines the best parts of A and B and predict its result before testing.
Check for understanding
Success criterion: Defines the problem with criteria, sketches two designs and explains how each shape helps, tests both fairly and records data, improves one design, and compares strengths and weaknesses using the data.
| Level | What you see |
|---|---|
| 3Meets (level 3) | States the problem and criteria, sketches two different designs with a clear reason for each shape, runs fair tests, records an improvement and writes a claim with numbers plus a strength and weakness of each design. |
| 2Approaching (level 2) | Builds and tests two designs but the tests are not fair (for example, the cup moves), or compares designs without using the data. |
| 1Beginning (level 1) | Builds one design or copies a partner without sketching, and cannot yet explain how the shape helps or which design worked better. |
Family connection
Send home the half-page note in the printables. The text is below so you can paste it into a newsletter or app.
English
Fold a sheet of paper into a zigzag and it can hold far more than a flat sheet. Your child found that out by building paper train bridges called trestles. Over two days, partners sketched two designs, tested how many pennies each held across a 6-inch gap, changed the weaker one and used their numbers to decide which worked better. At home, try a 5-minute challenge: fold paper different ways and see which shape holds a spoon between two books. To see real train bridges, look through the free museum guides at rallytakesthetrain.com/train-museums.
Español
Si doblan una hoja de papel en zigzag, aguanta mucho más que una hoja plana. Su hijo o hija lo descubrió al construir puentes de papel para trenes, llamados caballetes. Durante dos días, en parejas, dibujaron dos diseños, probaron cuántas monedas aguantaba cada uno sobre un espacio de 6 pulgadas, cambiaron el más débil y usaron sus números para decidir cuál funcionó mejor. En casa, prueben un reto de 5 minutos: doblen papel de distintas maneras y vean qué forma sostiene una cuchara entre dos libros. Para ver puentes de tren reales, miren las guías gratuitas de museos en rallytakesthetrain.com/train-museums.
Teacher tips
- Take a quick photo of each pair's two bridges at the end of Session 1. A bridge that collapses during testing is gone, and the photo lets children look back at its shape when they fill in strengths and weaknesses.
Standards alignment
| Standard | Text |
|---|---|
| NGSS K-2-ETS1-1 (opens in a new tab) | Ask questions, make observations, and gather information about a situation people want to change to define a simple problem that can be solved through the development of a new or improved object or tool. |
| NGSS K-2-ETS1-2 (opens in a new tab) | Develop a simple sketch, drawing, or physical model to illustrate how the shape of an object helps it function as needed to solve a given problem. |
| NGSS K-2-ETS1-3 (opens in a new tab) | Analyze data from tests of two objects designed to solve the same problem to compare the strengths and weaknesses of how each performs. |
Check codes against your state's version of these standards. How we build and review lessons.
Teach it with the real book
4.9 stars on Amazon
Rally Takes the Train is a rhyming, hand-painted picture book about a corgi's first train ride, from the big station stairs to a dark tunnel to the people waiting at the end of the line. Children ask for it again and again, and every unit here opens with it.
Questions teachers ask
Why does the bridge challenge take two sessions?
Building two designs and testing them fairly do not fit in one 2nd grade period. Session 1 (45 minutes) covers Ask, Imagine, Plan and Create: defining the problem, trying the materials, sketching and building both bridges. Session 2 (45 minutes) covers Test, Improve and Share. Bridges rest on trays overnight, and children come back ready to test instead of still taping.
Why can't children put posts in the lake?
Real trestles stand on posts, but if posts can stand on the blue paper, nearly every bridge holds everything and there is nothing to compare. The lake is too deep for posts, so the bridge must reach from bank to bank, like one span between two trestle posts. Children make it stiff with folds and craft sticks taped underneath as beams.
Why 100 pennies per pair?
A folded index card can hold far more than 40 pennies. With a small bag, many pairs end up with two bridges that both held them all, and K-2-ETS1-3 asks them to compare. Two rolls per pair usually lets the weaker design fail first. If you have metal washers, they work the same way and are easier to collect.
Why test each design only once?
A paper bridge that has sagged into the water stays bent, so a second trial on the same bridge is not a fair number. Instead, children predict, test each design once and record where it bent first. The fair comparison comes from the rules: the same gap, the same cup in the middle, one penny at a time and a clear stopping rule.
What is the stopping rule, and why decide it before class?
Stop when the bridge touches the blue paper or the cup tips. Write it on chart paper before Session 1. Most data arguments in this challenge come from an unclear stopping rule, so settling it early lets pairs focus on what their numbers mean instead of debating whether a trial counts.
Why should the flat-card demo fail?
It shows the problem without showing a solution. You lay one flat card across the gap and add pennies until it sags into the water while children count, then ask what they noticed about the middle. Partners then fold, roll and stack cards for four minutes, without tape or pennies, to find stiff shapes on their own.
What do children change in the Improve step?
Each pair picks its weaker design and makes one change, such as another fold, a craft stick beam underneath or two cards stacked. They write it on the Test Data page, rebuild with cards and tape from the spare-parts tray, and test once more the same way. One change at a time keeps the result readable.
A pair says, our bridge fell, so we lost. How should I respond?
Treat the failure as data. Ask what the bridge did just before it failed and where it bent first, which they recorded during the test. Then ask what one change might fix that spot. A failed design and a clear reason for it is exactly what they need for the strengths and weaknesses on the Compare Designs page.
What if I only have one 45-minute session?
Keep both designs, because comparing two is the standard. In Session 1, cut the material exploration to two minutes and have pairs build simpler versions, then test both in the last 15 minutes. Run Improve and the class results chart as a 20-minute follow-up the next day.
Where do the book pages come in?
At the start of Ask, for about two minutes. Page 11 shows the train heading into a tunnel in a cliff, and page 13 shows tracks curving along cliffs above the water. Children name what people built so the train could keep going, then you move to the bridge problem the class will solve.
Related lessons
Push the Train: Pushes, Pulls and a Ramp Design
A free kindergarten push and pull science lesson taught in two sessions (33 and 37 minutes).
How Long Is a Train? Measure and Compare Lengths in Inches and Feet
A 55-minute problem-based math lesson.
Design a Safer Railroad Crossing: Criteria, Constraints and Fair Tests
A three-session 4th grade engineering design challenge.
Teaching with Rally Takes the Train
Every lesson is free for classroom and homeschool use. Add the paperback to your classroom library, or review a lesson to earn a free copy if you are a credentialed teacher. Keep the journey going in about 650 free train museum guides, plan a visit with the field trip planner, or browse all lessons for educators.